How to Get Your BLS Certification: A Step-by-Step Guide
Learn how to get your BLS certification with this step-by-step guide covering course enrollment, training, exams, and official certification.
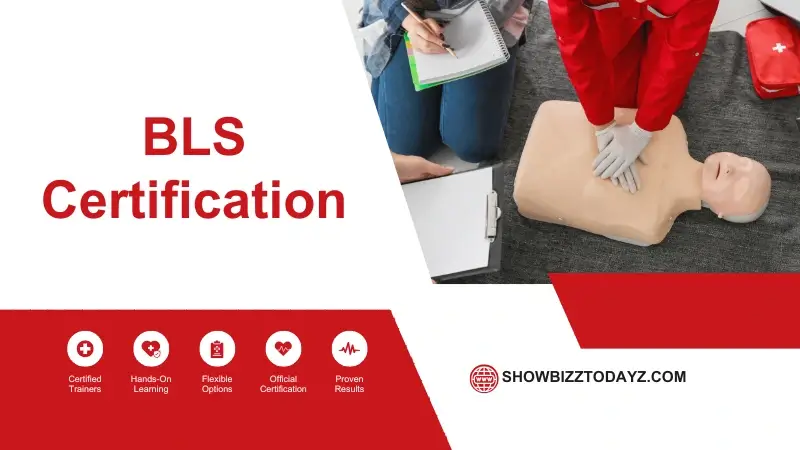
Getting your Basic Life Support (BLS) certification is a vital skill that can help save lives. Whether you’re a healthcare worker, teacher, or just someone who wants to be prepared, learning BLS can give you the tools needed in emergencies.
But how do you actually get your BLS certification? Don’t worry! This step-by-step guide will make it easy for you to understand the process.
Step 1: Choose a Recognized Training Provider
The first step in earning your BLS certification is finding a recognized training provider. Many organizations offer BLS courses, including the American Heart Association, the Red Cross, and other healthcare associations.
Choose one that is well-known in your area or online. Look for reviews or ask friends and family for recommendations. If you are eager to start your journey towards certification, visit Cprcertificationnow.com for more details on course options, tips, and resources!
Step 2: Enroll in a BLS Course
After selecting a training provider, the next step is to enroll in a BLS course. These courses are available in multiple formats: in-person, online, or blended. An in-person course allows you to practice skills in a hands-on setting, while online courses can be completed at your own pace. We have also covered Choose the Best Rehab in Pensacola on our website.
Step 3: Attend Your BLS Training
Once you are enrolled, it’s time to attend your training sessions! For in-person classes, make sure you’re punctual since they often include practical exercises. Pay attention to your instructor and ask questions if you don’t understand something.
Step 4: Pass the Written Exam
After completing your training, you will usually need to pass a written exam. This test checks your understanding of BLS concepts and procedures. Don’t stress! Most training providers will give you study materials to review before the exam. Find valuable tips and strategies in our article about Clear Aligners Cost.
Step 5: Demonstrate Your Skills
Once you’ve passed the written portion, it’s time to show that you can perform the skills you learned. Typically, you will have to demonstrate these skills to an instructor in a practical test. You might need to perform CPR on a dummy, use an AED, or show how to assist someone choking.
Step 6: Receive Your BLS Certification
Congratulations! After passing both the written and skills assessments, you will receive your BLS certification. This typically comes in the form of a card or diploma, which proves you’re certified to perform BLS. The certification is valid for two years.
Step 7: Keep Your Skills Current
Even after you receive your BLS certification, it’s important to keep your skills fresh. The healthcare field is always changing, and new techniques might emerge. Most providers recommend that you take a BLS renewal course every two years to stay up to date.
This will also give you a chance to practice what you learned and become more confident in your skills. Remember, being prepared can make all the difference in an emergency!
Final Thoughts on Your BLS Certification Journey
Getting your BLS certification is a straightforward process that empowers you to help others when it matters most. Follow this Step-by-Step Guide to navigate through the steps easily. Start by choosing a reputable provider, attending the training, and practicing your skills. With determination and effort, you will be well-equipped to respond effectively in emergencies.
It’s never too late to learn life-saving skills. Consider enrolling in a BLS course today! Check out our other blog posts today! You can visit showbizztoday.com for more trending posts.